This is post aimed to provide introduction to the fundamental building blocks of the Azure Cloud platform Microsoft Azure Resource Manager (ARM) and using Azure Cross Platform CLI tool like PowerShell to manage your Azure resources.
Terminology
- Resource – Virtual Machines, Storage Account, Web App, Database, Virtual Network
- Resource Group – A container holdings Resources (from same or different region) that can be used for an Azure solution, to which common set of rules like Security Policies can be uniformly applied
- Resource Provider – The Service that provides Resources which can be deployed, example
- Microsoft.Storage – Storage Account Resources
- Microsoft.Compute – Virtual Machine Resources
- Microsoft.Azure.Management.TrafficManager – Traffic Management profiles
- Resource Manager Template -A JSON file that links one or more Resources to the Resource Group along with its dependencies between Resources
The Azure Resource Manager can be accessed and managed using different methods
- Azure Cross Platform CLI Tools – Azure Cross Platform CLI on OSX,Linux, Docker & PowerShell on Mac OSX, Linux
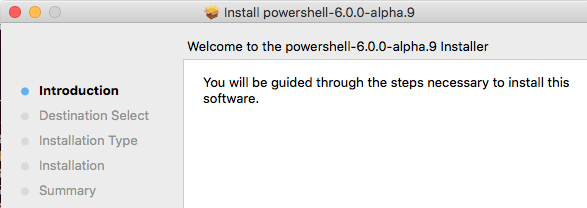
- PowerShell Module – The ARM PowerShell module can be installed from the PowerShell Gallery
- REST API – A REST interface to access & manage ARM
- Azure SDK for Python – Azure SDK for Python can be used to manage ARM
Access Controls
ARM natively supports OAuth and Role-Based Access Control (RBAC is by default deny, explicit allow), thus facilitating user access based on pre-defined platform or resource-specific roles.


 In this case you lets redirect the browser to